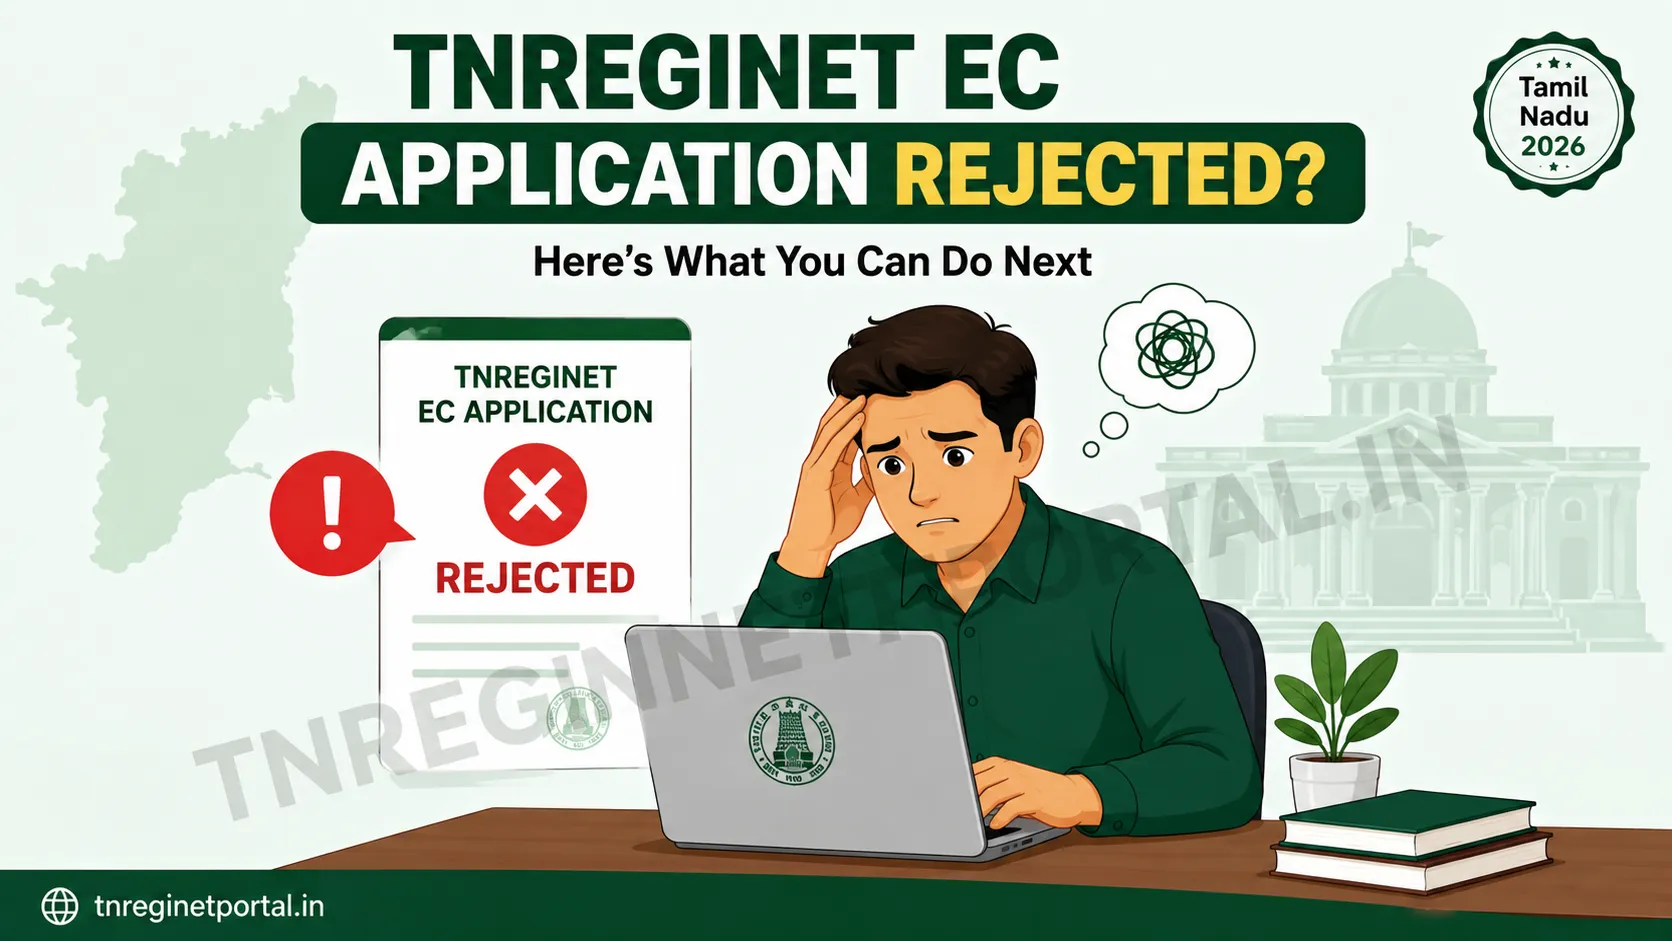
You filled in every field, paid the fee, waited a few days, and the status flipped to Rejected. A TNREGINET EC application rejected status feels like a wall, especially when the Encumbrance Certificate is needed for a bank loan or a sale that is already moving. The good news is that rejection almost always comes down to a small, fixable mismatch, not a problem with your property. This guide breaks down the six real reasons EC applications get rejected in Tamil Nadu and shows you exactly how to reapply the right way.
Quick answer: A TNREGINET EC application is usually rejected for one clear reason: the survey number or subdivision does not match the record, the wrong Sub-Registrar Office was selected, or the search period predates the digitised records. Rejection is not permanent. First confirm the exact reason at your SRO, correct that single detail, then reapply. Do not simply resubmit the same form, since your paid fee is not refunded on a failed attempt.
6 Real Reasons
Fee Not Refunded
IGR Helpline
Correct Reapply Steps
The 6 Real Reasons Your TNREGINET EC Application Was Rejected
Every rejection has a cause, even when the portal does not spell it out clearly. Here are the six that account for almost all rejected EC applications, along with the fix for each.
Notice the pattern: five of the six are input errors, not portal faults. That is genuinely good news, because it means you control the fix.
How to Find the Exact Rejection Reason First
Reapplying blindly is the most common mistake. Before you touch a new application, confirm why the first one failed, since the official process expects you to inquire at the Sub-Registrar Office to understand the rejection and then reapply with complete documentation. There are three ways to get the reason.
- Check the status note on the portal. Log in, open your application under the status or request section, and read any note beside the “Rejected” label. It sometimes names the field at fault.
- Call the IGR helpline. The Inspector General of Registration office in Chennai can be reached at 044-24640160, and it often gets the SRO to clarify what went wrong.
- Visit the SRO in person. If a call does not resolve it, carry a printout of your application confirmation and your Aadhaar, and ask the clerk handling EC applications. A physical visit usually settles it quickly.
How to Reapply for Your EC the Right Way
Once you know the reason and have corrected that one detail, reapplying is straightforward. You can do this on the official portal.
Log In to TNREGINET
Sign in to the official TNREGINET portal using your existing account.
Open the EC Apply Section
Go to the E-Services tab, select Encumbrance Certificate, then Search and Apply EC.
Enter the Corrected Details
Fill in zone, district, the correct SRO, village, survey number, and subdivision number. Double-check the one field that caused the earlier rejection. If you are unsure, find your correct survey number first.
Set a Valid Search Period
Set the period from 1987 onwards if any part of your earlier range was older than the digitised records. Keep it wide, ideally 30 years, so you do not miss transactions.
Apply and Confirm
Enter the captcha and search. When the record resolves, choose Apply Online and confirm your name and contact details.
Pay and Save Your References
Pay the fee and save the CIN, bank reference number, and transaction ID shown on payment.
Track to Completion
Track the new application until the status shows Digitally Signed, which means the certified EC is ready. You can then view and download your EC as a PDF.
⚡ The fee trap: TNREGINET has no cancel option once an application is submitted, and the fee on a rejected or wrong-period application is not refunded. Reapplying means paying again. The online EC fee is modest, roughly Re.1 application charge plus a small per-year search fee, with about ₹200 for a certified digitally signed copy, but repeated failed attempts still add up. This is exactly why confirming the rejection reason before resubmitting saves both time and money.
How to Avoid Rejection the Next Time
Run this quick check before you submit
- Match the survey and subdivision number to your Patta Chitta or sale deed, digit for digit.
- Confirm the SRO matches where the deed was registered, not where the land is located.
- Start the search period at 1987 or later for anything online.
- Keep the search period wide, ideally 30 years, so you do not miss transactions.
- For pre-1987 records, plan a manual search at the SRO from the start.
Getting these five right on the first attempt is the difference between a clean download and a second non-refundable fee. Before a property purchase, it also pays to check the guideline value for the same property so your registration costs are clear well ahead of time.
Frequently Asked Questions
Related TNREGINET Services You May Need
- View & Download EC Certificate Online — step-by-step guide to viewing and saving your EC as a PDF once it is issued.
- Find Your Property Survey Number Online — locate the exact survey and subdivision number before you apply, so your EC does not get rejected.
- Check Guideline Value on TNREGINET — verify the government-fixed value for your property before any transaction.
Conclusion
A rejected EC application on TNREGINET is almost always a small, fixable input error rather than a problem with your property. Confirm the exact reason before you resubmit, since the fee on a failed attempt is not refunded, then correct that one detail and reapply through the E-Services section. Match your survey number and SRO carefully, keep the search period from 1987 onwards, and your next attempt should sail through to a Digitally Signed certificate.